
How to Remove a Background in GIMP—and When to Start with AI
Remove an image background in GIMP, refine difficult edges with a layer mask, or combine an automatic cutout with GIMP for precise cleanup.
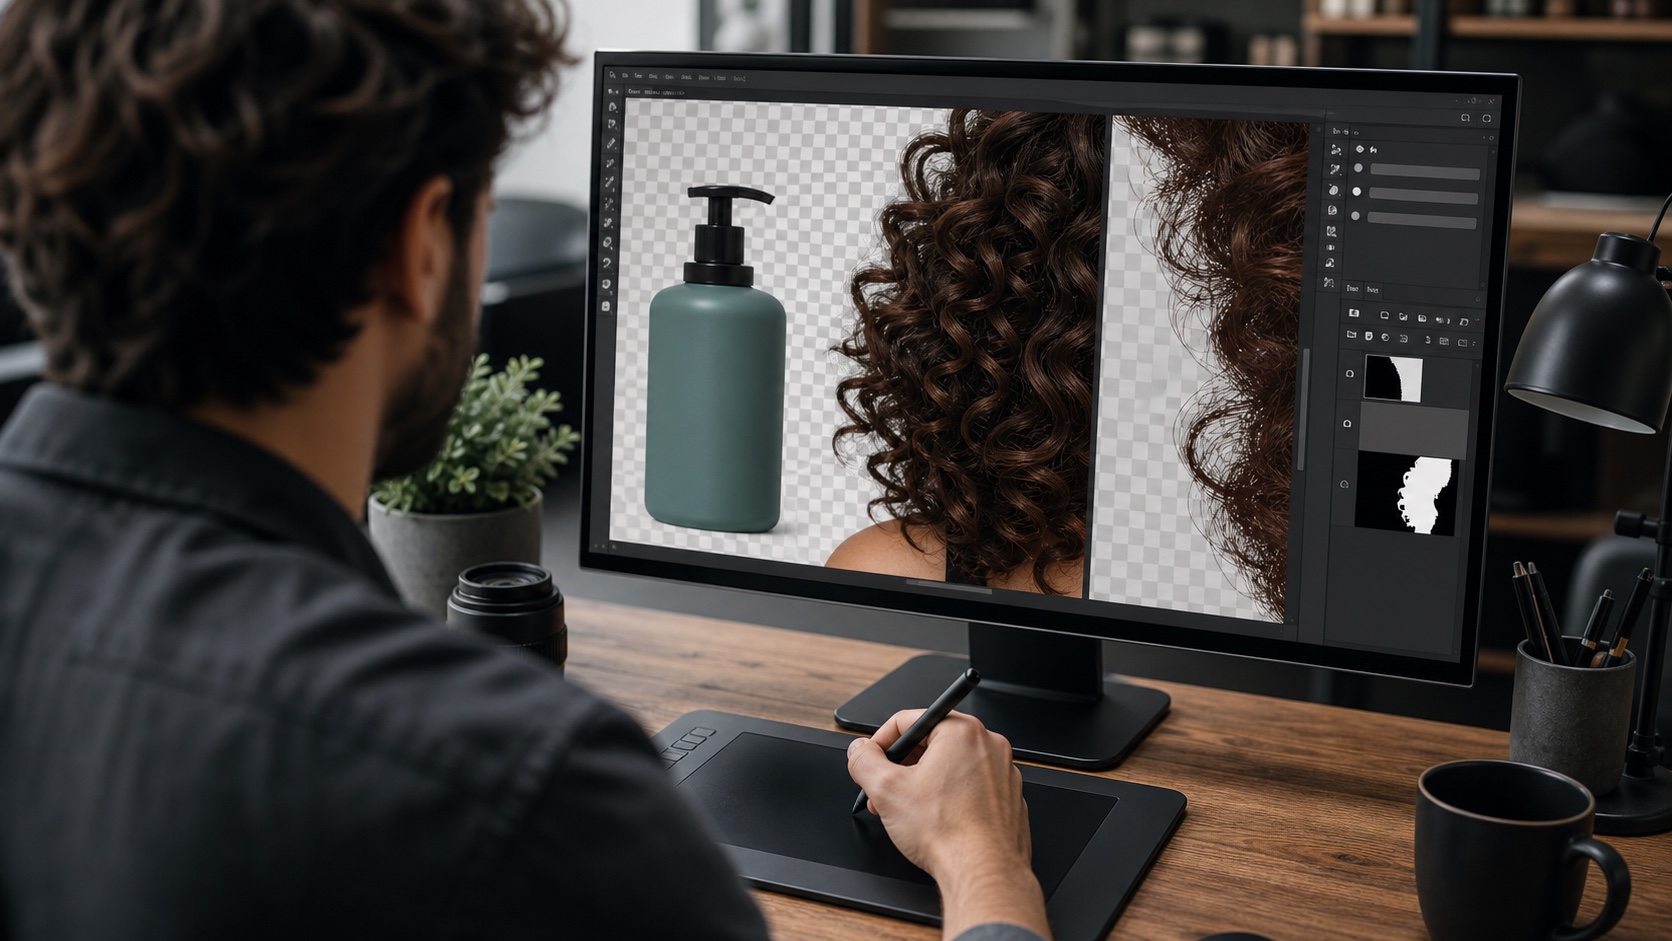
GIMP is useful when a background needs manual judgment: restoring a strand of hair, cleaning a color fringe, or reshaping a mask around a difficult object. The safest workflow uses transparency and a layer mask, so mistakes can be corrected instead of permanently erasing pixels.
It is not always the best place to start. For a clear product, portrait, logo, or object, an automatic background remover can create the first cutout faster. You can then open the transparent PNG in GIMP only when an edge genuinely needs manual work.
This guide covers both paths: a fully manual GIMP workflow and a faster AI-to-GIMP refinement workflow.
Before You Start: Add Transparency
Open the image in GIMP, find its layer in the Layers panel, then choose Layer → Transparency → Add Alpha Channel. You can also right-click the layer and choose Add Alpha Channel.
The alpha channel is what allows deleted or masked areas to become transparent. Without it, removing the background can reveal the current background color instead.
Method 1: Use Foreground Select
- Choose Tools → Selection Tools → Foreground Select.
- Draw a rough outline around the subject. Include the whole subject and only a small amount of background.
- Close the outline and press Enter.
- Paint strokes over representative parts of the foreground. Cover important colors and details without painting over the background.
- Preview the selection.
- Switch between foreground and background marking to correct missed areas.
- Confirm the selection when the subject is isolated.
GIMP’s current Foreground Select workflow is designed to extract the foreground from the active layer. Its preview and draw modes let you refine pixels classified as foreground, background, or unknown. See the official GIMP Foreground Select documentation for the exact controls in GIMP 3.
Turn the Selection into a Layer Mask
A layer mask is more forgiving than pressing Delete:
- With the foreground selected, right-click the image layer.
- Choose Add Layer Mask.
- Initialize the mask from the current selection.
- Inspect the result on a contrasting layer underneath.
- Paint white on the mask to restore part of the subject.
- Paint black on the mask to hide remaining background.
Use a soft brush around hair and semi-transparent edges. Zoom in, but also zoom back out—an edge that looks imperfect at 800% may look natural at its actual display size.
Method 2: Remove a Plain Background
For a flat white, black, or single-color background:
- Add an alpha channel.
- Select the Fuzzy Select tool.
- Click the background.
- Adjust the threshold until the background is selected without eating into the subject.
- Feather the selection slightly if the edge is too hard.
- Add a layer mask from the selection, or delete the selected area.
Be careful when the subject contains the same color as the background. A white product on a white wall, for example, can lose highlights if the threshold is too broad.
Refine Hair and Difficult Edges
For complex boundaries:
- Work on the layer mask instead of the original layer.
- Preview against black, white, and a saturated color.
- Use a smaller brush near flyaway hair and fabric threads.
- Preserve intentional soft shadows when they help the subject look natural.
- Avoid a thick fringe of the old background color.
If the source image is heavily compressed or blurred, no selection method can recover detail that is not present. A sharper original will save more time than increasingly aggressive mask adjustments.
Export a Transparent PNG
When the checkerboard is visible behind the subject:
- Choose File → Export As.
- Enter a filename ending in
.png. - Export the image.
- Keep the PNG color values for transparent pixels unless you have a specific reason to change them.
Do not export as JPG if you need transparency. JPG fills transparent areas because the format has no alpha channel.
Choose the Workflow Before You Start
Start directly in GIMP when:
- You need precise manual control.
- The initial result needs detailed mask work.
- You are already editing a larger composition.
- You need to preserve or deliberately reshape difficult edges.
Start with the online Background Remover when:
- You want a fast first-pass cutout.
- You have many straightforward product or portrait images.
- You do not need a full desktop editor.
- You want to preview transparent, white, and custom backgrounds immediately.
The hybrid workflow is usually the best balance for difficult images:
- Generate the initial cutout with the automatic remover.
- Download the transparent PNG.
- Open it in GIMP.
- Add a layer mask if one is not already present.
- Paint on the mask only where the automatic edge needs correction.
- Inspect the result against both a light and dark background before export.
This avoids tracing the entire subject manually while preserving GIMP’s precise control where it matters.
For format choices, edge-quality advice, and phone or browser workflows, continue with the complete how to remove a background from an image guide.
FAQ
Why does deleting the background turn it white?
The layer probably does not have an alpha channel, or you exported to a format without transparency. Add an alpha channel and export as PNG.
Should I use Foreground Select or Fuzzy Select?
Use Fuzzy Select for a simple, consistent background. Use Foreground Select when the subject or background contains several colors and textures.
Can GIMP remove hair backgrounds cleanly?
It can, but the result depends on source quality and careful mask refinement. Hair against a contrasting, evenly lit background is much easier than blurred hair against similar colors.
Should I remove the whole background manually in GIMP?
Only when the image needs detailed judgment across most of the boundary. For a clear subject, generate a first-pass cutout automatically and use GIMP for local corrections. Manual selection is most valuable when the automatic mask removes important detail or retains a visible fringe.
Related posts
 Image Cleanup
 Image Cleanup
 Image Cleanup