
How to Remove a Background from an Image
Remove an image background, check difficult edges, and export a transparent PNG or a finished image on white or another color.

Removing a background means keeping the subject of a photo while making everything behind it transparent or replacing it with a cleaner backdrop. You might need this for a product listing, profile picture, logo, presentation, or social post.
The quickest route is an automatic background remover. The important part is not simply clicking a button—it is checking the result and choosing the right export for where the image will be used.
The Fastest Way to Remove an Image Background
- Open the free online Background Remover.
- Upload the JPG, PNG, or other supported image you want to edit.
- Run background removal and wait for the subject cutout.
- Compare the original with the result, especially around fine edges.
- Choose a transparent, white, or custom-color background.
- Download the finished PNG.
A transparent result gives you the most flexibility. You can reuse the same cutout on a website, slide, marketplace listing, or new design without removing the background again.
Check the Result Before Downloading
Automatic removal is usually strongest when the subject is clearly separated from its surroundings. Always inspect:
- Hair, fur, feathers, and fabric fringe
- Thin straps, wires, handles, stems, and glasses
- White products photographed against pale walls
- Dark subjects against dark backgrounds
- Transparent or reflective objects
- Soft shadows that help an object look grounded
If part of the subject disappears, try a source photo with stronger contrast and less motion blur. A larger, sharper original normally gives the model more useful edge information than a compressed screenshot.
Transparent, White, or Custom Background?
Choose a transparent background when you want a reusable cutout. Download it as PNG because JPG cannot preserve transparent pixels.
Choose a white background for a clean catalog or marketplace presentation. Requirements vary, so check the current rules of the store where you plan to publish.
Choose a custom color when the image needs to match a brand palette, campaign, profile card, or presentation theme.
If you want to place the subject over another photo, use the Image Background Changer. It combines the cutout with a replacement image in the same workflow.
Image, Photo, and Picture Mean the Same Job Here
Searches such as “remove background from image,” “remove background from photo,” and “remove background from picture” describe the same basic operation. What matters is the subject and the intended output—not which word you use for the source file.
Common source types include:
- Product photos
- Portraits and headshots
- Logos and icons
- Pets and animals
- Food and handmade goods
- Screenshots with a clear visual subject
For a product-specific canvas and export workflow, use the Product Photo Background Remover. For a logo that must remain reusable across designs, use the Logo Background Remover.
How to Remove a Background on a Phone
The online workflow works in a mobile browser:
- Open the background remover in Safari, Chrome, or another current browser.
- Choose an image from your photo library or files.
- Process the image.
- Review the edges at full size.
- Download the PNG to Files or Photos.
iPhone also has native subject-lifting options for compatible images. See the dedicated guide to removing an image background on iPhone for both Apple’s built-in methods and the browser workflow.
When GIMP Is Worth Using
Most clear subjects do not need a full editor. When hair, glass, fabric, or a color fringe requires manual correction, use the AI-to-GIMP background removal workflow: generate the initial transparent cutout here, then refine only the difficult edge in GIMP.
When Background Removal Is the Wrong Tool
Do not remove the entire background if only one part of the picture is distracting.
- Use Object Remover for a person, cable, sign, or unwanted item.
- Use Text Remover for captions, labels, and visible words.
- Use Watermark Remover only for assets you own or have permission to edit.
- Use Video Background Remover for moving footage.
Choosing the narrowest tool usually preserves more of the original image.
How to Get Cleaner Edges
Start with a well-lit photo and avoid heavy blur. Leave some space around the subject instead of cropping directly through hair, clothing, or product edges. If the foreground and background share nearly the same color, try a different source image or increase separation before uploading.
After processing, preview the cutout on both a light and dark background. A faint halo that disappears on white may become obvious on black. Checking both makes edge problems easier to spot.
FAQ
Can I remove a background from an image for free?
Yes. RemoveLayer’s image background remover is available free online for signed-in users. The page explains the current allowance and account requirement before processing.
What format should I download?
Use PNG when you need transparency. A solid-color result can also be exported as PNG. JPG is smaller for ordinary photos but cannot keep a transparent background.
Will background removal reduce image quality?
The cutout process changes pixels around the subject boundary. Start with the highest-quality source available and inspect fine details before publishing the result.
Can I process several photos?
Yes. Use the Bulk Background Remover when you need the same workflow across a collection of images.
Related posts
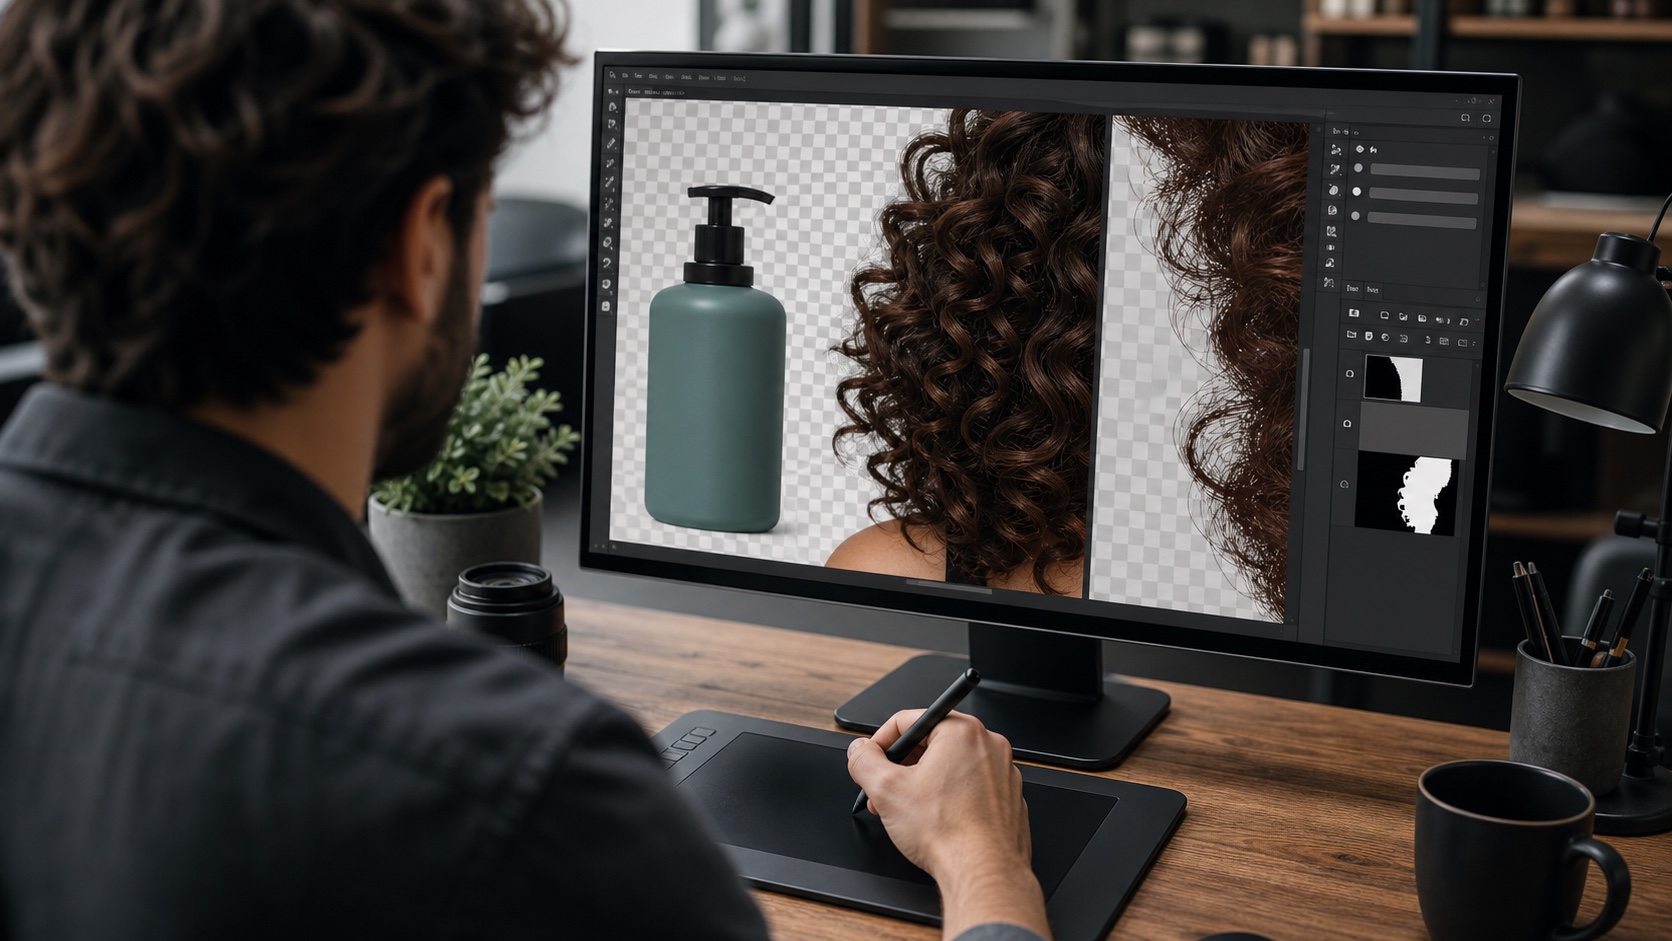 Image Cleanup
 Image Cleanup
 Image Cleanup